In this article, we will discuss how to query the history of a serial number or lot number in ManageMore Business Software. You can obtain the entire audit trail of a serial/lot number from the instant it is received into the software to transfer, sale, return, adjustment, and/or disposition.
Step 1 – Open Serial Number Check
To navigate to the Serial Number Check screen, select Activities … Inventory … Serial Number Check. This screen is used to check lot numbers as well.
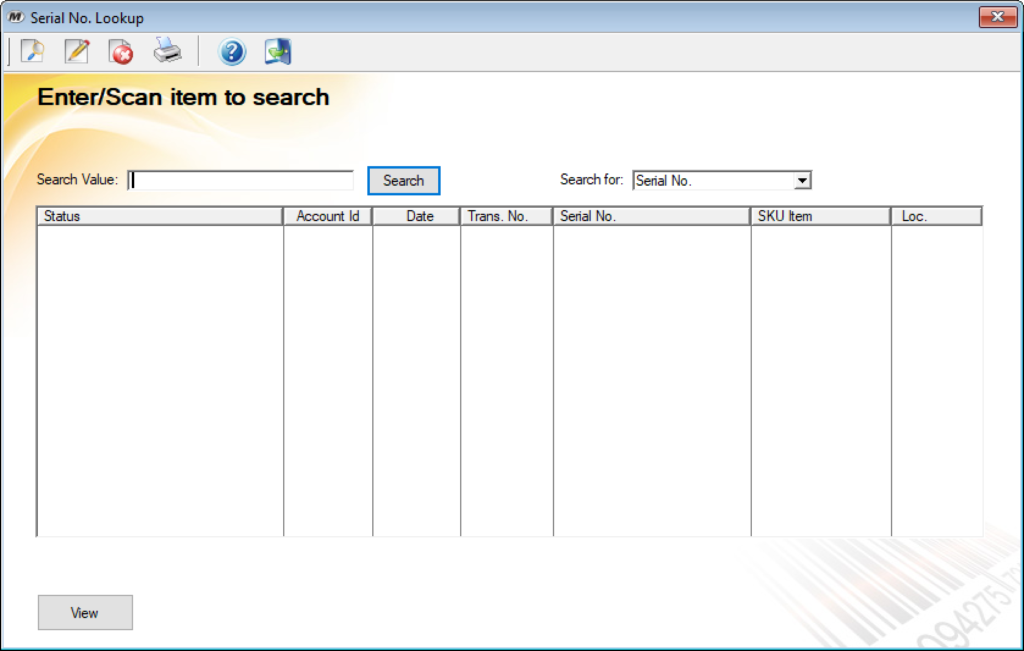
Step 2 – Enter or Scan the Serial Number or Lot Number
Once the Serial Number Check screen is open, enter or scan the Serial Number in the field provided. Then press the enter key, or click the “Search” button. If you are querying a Lot Number, be sure to change the “Search for” selection. If a valid Serial Number or Lot Number is entered, the list will populate with the history for that item.
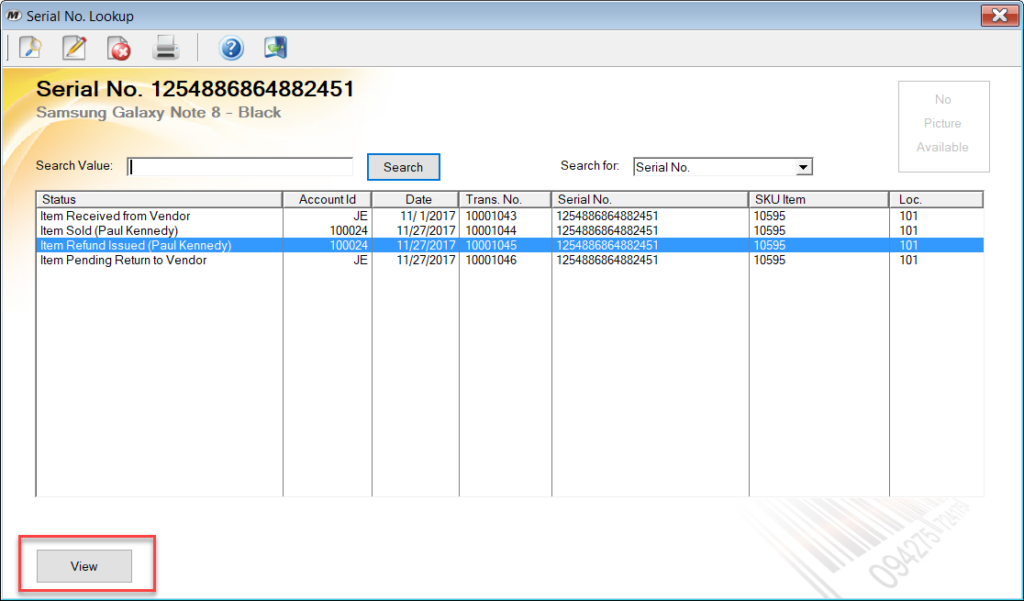
The screen will display, in date order, the transactions for the Serial or Lot Number entered. To view the details of a particular transaction, double-click on the row, or select the row, and click on the “View” button. The transaction will be displayed. Keep in mind, if any changes or new transactions are entered after the item has been queried, you will have to re-search the item, to refresh the history list.
Printing Serial Number History
To print the history for the queried Serial or Lot Number, click on the “Print” button on the toolbar of the window. This will create a report for the item being viewed.